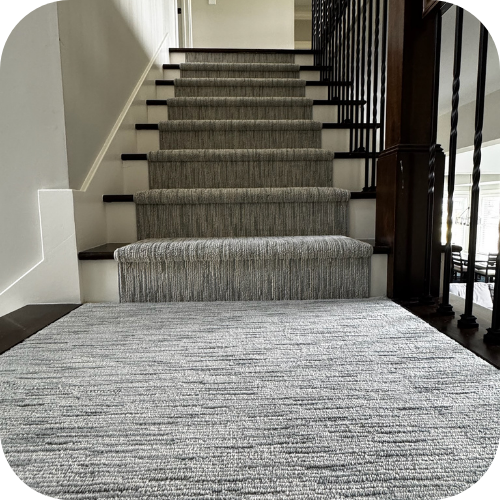
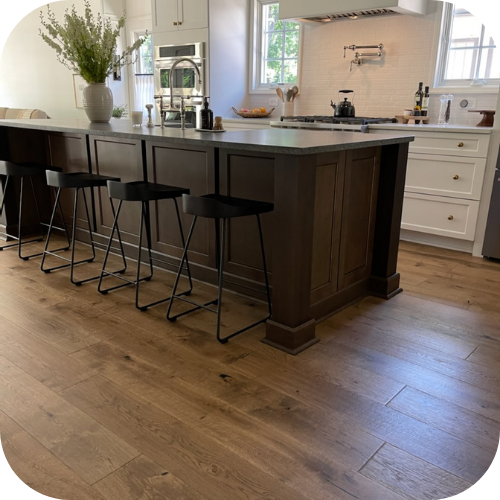
Beautifully Finished Hardwood Floors
Nothing transforms a space quite like beautifully finished hardwood floors. Whether you’re refinishing existing floors or installing new solid wood flooring, the quality of the finish can make all the difference in both appearance and longevity. A proper finish not only enhances the natural beauty of the wood but also protects it from daily wear and tear.
Understanding hardwood floor finishes
Before diving into the refinishing process, it’s important to understand the different types of finishes available for your wood flooring. Each has its own advantages and aesthetic appeal:
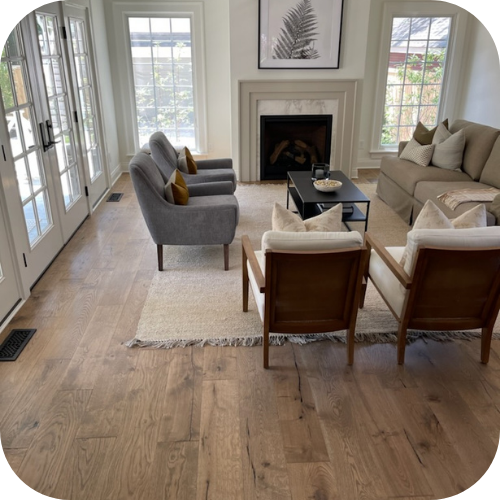
Water-based polyurethane
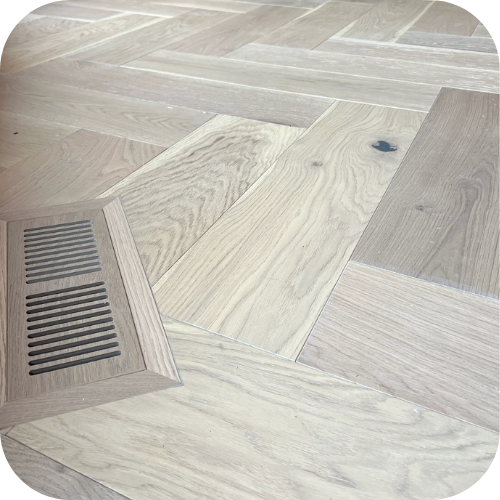
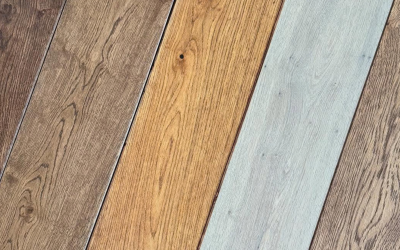
This eco-friendly option dries quickly and maintains the natural color of your wood flooring. It’s less odorous than oil-based alternatives and provides excellent durability. White oak flooring, which is currently trending in homes across Indianapolis, maintains its beautiful light color particularly well with water-based finishes.
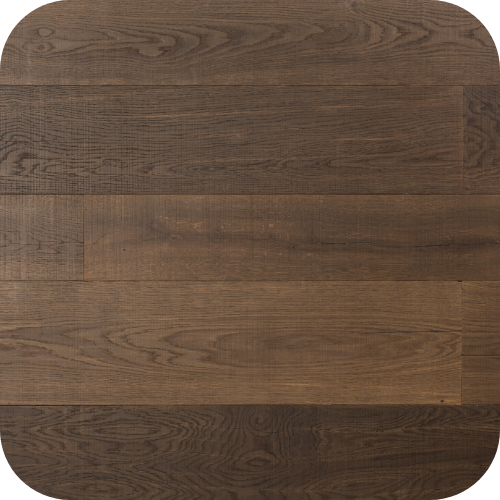
Oil-based polyurethane
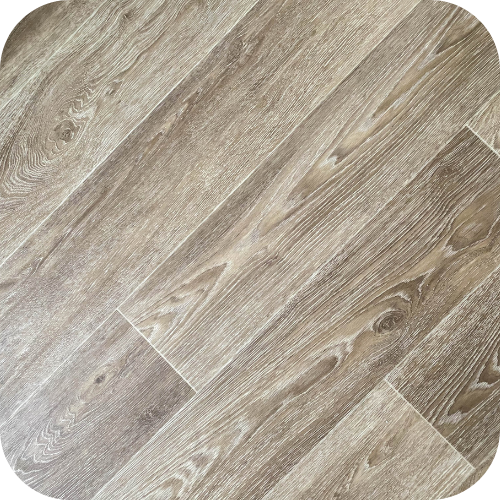
Though it takes longer to dry, oil-based polyurethane offers superior durability and a rich amber tone that many homeowners prefer, especially for traditional solid wood flooring varieties. This finish tends to highlight the grain pattern more dramatically.
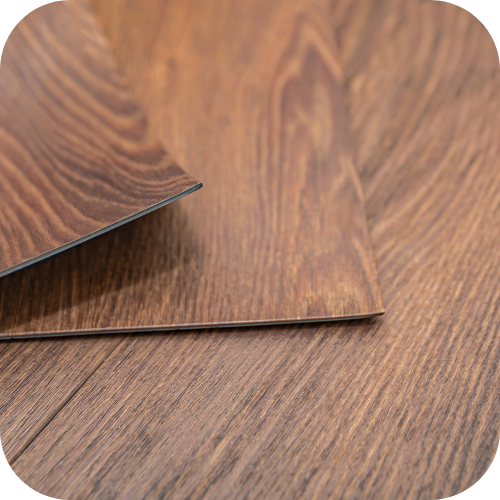
Hardwax oil
This natural option penetrates the wood rather than forming a layer on top. It’s easy to spot-repair and enhances the natural feel of the wood while still providing protection.
Preparation: The foundation of a perfect finish
The secret to a flawless hardwood floor refinishing project lies in thorough preparation:
Cleaning and inspection
Remove all furniture and thoroughly clean the floor. Inspect for nail heads, staples, or other imperfections that could damage sanding equipment or affect the final finish. Repair any damaged boards before proceeding.
Sanding process
Proper sanding is critical for achieving a smooth, even finish. This multi-step process typically involves:
- Rough sanding to remove the old finish and level the floor
- Medium sanding to smooth out rough sanding marks
- Fine sanding to prepare the surface for staining or finishing
When refinishing white oak flooring or any premium solid wood flooring, professional-grade equipment will yield the best results. Improper sanding can leave swirl marks, scratches, or uneven surfaces that will be magnified once the finish is applied.
Between-coat preparation
Between each coat of finish, light sanding (often called screening) ensures proper adhesion and removes any raised grain or imperfections from the previous coat. The floor must be completely clean and dust-free before applying the next coat.
Application techniques for flawless results
How you apply the finish is just as important as the preparation work:
Staining considerations
If you’re staining your floor before applying the finish, apply the stain evenly using a buffer with a stain pad or a lambswool applicator. Work in manageable sections and wipe excess stain promptly to prevent lap marks. Allow the stain to dry completely according to manufacturer recommendations before applying finish.
Finish application tools
For most homeowners, a high-quality lamb’s wool applicator or a synthetic T-bar works best for applying finishes. These tools help ensure even application without bubbles or streaks. For water-based finishes on white oak flooring or other light woods, synthetic applicators often work better than natural fibers.
Application method
Apply thin, even coats in the direction of the grain. Start at the farthest corner from the exit and work your way out of the room. Maintain a wet edge to prevent lap marks, and never shake the finish container (stir gently instead) to avoid introducing bubbles.
Multiple coats
Most hardwood floor refinishing projects require 3-4 coats of finish for optimal protection. Allow each coat to dry completely and lightly sand between coats for the best adhesion and smoothest results.
Curing time: Patience pays off
Even though your newly finished floor may appear dry within hours, full curing takes time. Water-based finishes typically cure in 7-14 days, while oil-based products may take 30 days or more to reach full hardness. During this time:
- Avoid placing rugs on the floor
- Minimize foot traffic
- Wait at least 24 hours before walking on the floor with socks
- Wait the full cure time before replacing furniture
Rushing this process can result in permanent marks or damage to your newly refinished wood flooring.
Trust Indianapolis’ premier hardwood refinishing experts for floors that last generations
When your floors deserve the best, trust the experts at Brothers Floor Covering for flawless hardwood floor refinishing throughout Indianapolis, Carmel, Zionsville, Westfield, and Geist. Contact us for a free consultation or visit our showroom to see stunning examples of our refinishing work on solid wood flooring, white oak flooring, and more.
Nothing transforms a space quite like beautifully finished hardwood floors. Whether you’re refinishing existing floors or installing new solid wood flooring, the quality of the finish can make all the difference in both appearance and longevity. A proper finish not only enhances the natural beauty of the wood but also protects it from daily wear and tear.
Understanding hardwood floor finishes
Before diving into the refinishing process, it’s important to understand the different types of finishes available for your wood flooring. Each has its own advantages and aesthetic appeal:
Water-based polyurethane
This eco-friendly option dries quickly and maintains the natural color of your wood flooring. It’s less odorous than oil-based alternatives and provides excellent durability. White oak flooring, which is currently trending in homes across Indianapolis, maintains its beautiful light color particularly well with water-based finishes.
Oil-based polyurethane
Though it takes longer to dry, oil-based polyurethane offers superior durability and a rich amber tone that many homeowners prefer, especially for traditional solid wood flooring varieties. This finish tends to highlight the grain pattern more dramatically.
Hardwax oil
This natural option penetrates the wood rather than forming a layer on top. It’s easy to spot-repair and enhance the natural feel of the wood while still providing protection.
Preparation: The foundation of a perfect finish
The secret to a flawless hardwood floor refinishing project lies in thorough preparation:
Cleaning and inspection
Remove all furniture and thoroughly clean the floor. Inspect for nail heads, staples, or other imperfections that could damage sanding equipment or affect the final finish. Repair any damaged boards before proceeding.
Sanding process
Proper sanding is critical for achieving a smooth, even finish. This multi-step process typically involves:
- Rough sanding to remove the old finish and level the floor
- Medium sanding to smooth out rough sanding marks
- Fine sanding to prepare the surface for staining or finishing
When refinishing white oak flooring or any premium solid wood flooring, professional-grade equipment will yield the best results. Improper sanding can leave swirl marks, scratches, or uneven surfaces that will be magnified once the finish is applied.
Between-coat preparation
Between each coat of finish, light sanding (often called screening) ensures proper adhesion and removes any raised grain or imperfections from the previous coat. The floor must be completely clean and dust-free before applying the next coat.
Application techniques for flawless results
How you apply the finish is just as important as the preparation work:
Staining considerations
If you’re staining your floor before applying the finish, apply the stain evenly using a buffer with a stain pad or a lambswool applicator. Work in manageable sections and wipe excess stain promptly to prevent lap marks. Allow the stain to dry completely according to the manufacturer’s recommendations before applying the finish.
Finish application tools
For most homeowners, a high-quality lamb’s wool applicator or a synthetic T-bar works best for applying finishes. These tools help ensure even application without bubbles or streaks. For water-based finishes on white oak flooring or other light woods, synthetic applicators often work better than natural fibers.
Application method
Apply thin, even coats in the direction of the grain. Start at the farthest corner from the exit and work your way out of the room. Maintain a wet edge to prevent lap marks, and never shake the finish container (stir gently instead) to avoid introducing bubbles.
Multiple coats
Most hardwood floor refinishing projects require 3-4 coats of finish for optimal protection. Allow each coat to dry completely and lightly sand between coats for the best adhesion and smoothest results.
Curing time: Patience pays off
Even though your newly finished floor may appear dry within hours, full curing takes time. Water-based finishes typically cure in 7-14 days, while oil-based products may take 30 days or more to reach full hardness. During this time:
- Avoid placing rugs on the floor
- Minimize foot traffic
- Wait at least 24 hours before walking on the floor with socks
- Wait the full cure time before replacing furniture
Rushing this process can result in permanent marks or damage to your newly refinished wood flooring.
Trust Indianapolis’ premier hardwood refinishing experts for floors that last generations
When your floors deserve the best, trust the experts at Brothers Floor Covering for flawless hardwood floor refinishing throughout Indianapolis, Carmel, Zionsville, Westfield, and Geist. Contact us for a free consultation or visit our showroom to see stunning examples of our refinishing work on solid wood flooring, white oak flooring, and more.
 (6)")


")
")